Long before oil paints glistened on the walls of European cathedrals, before acrylics poured across modern canvases, artists were painting with something elemental — wax, fire, and pigment. The story of encaustic begins over two thousand years ago, on the sunlit shores of ancient Greece.
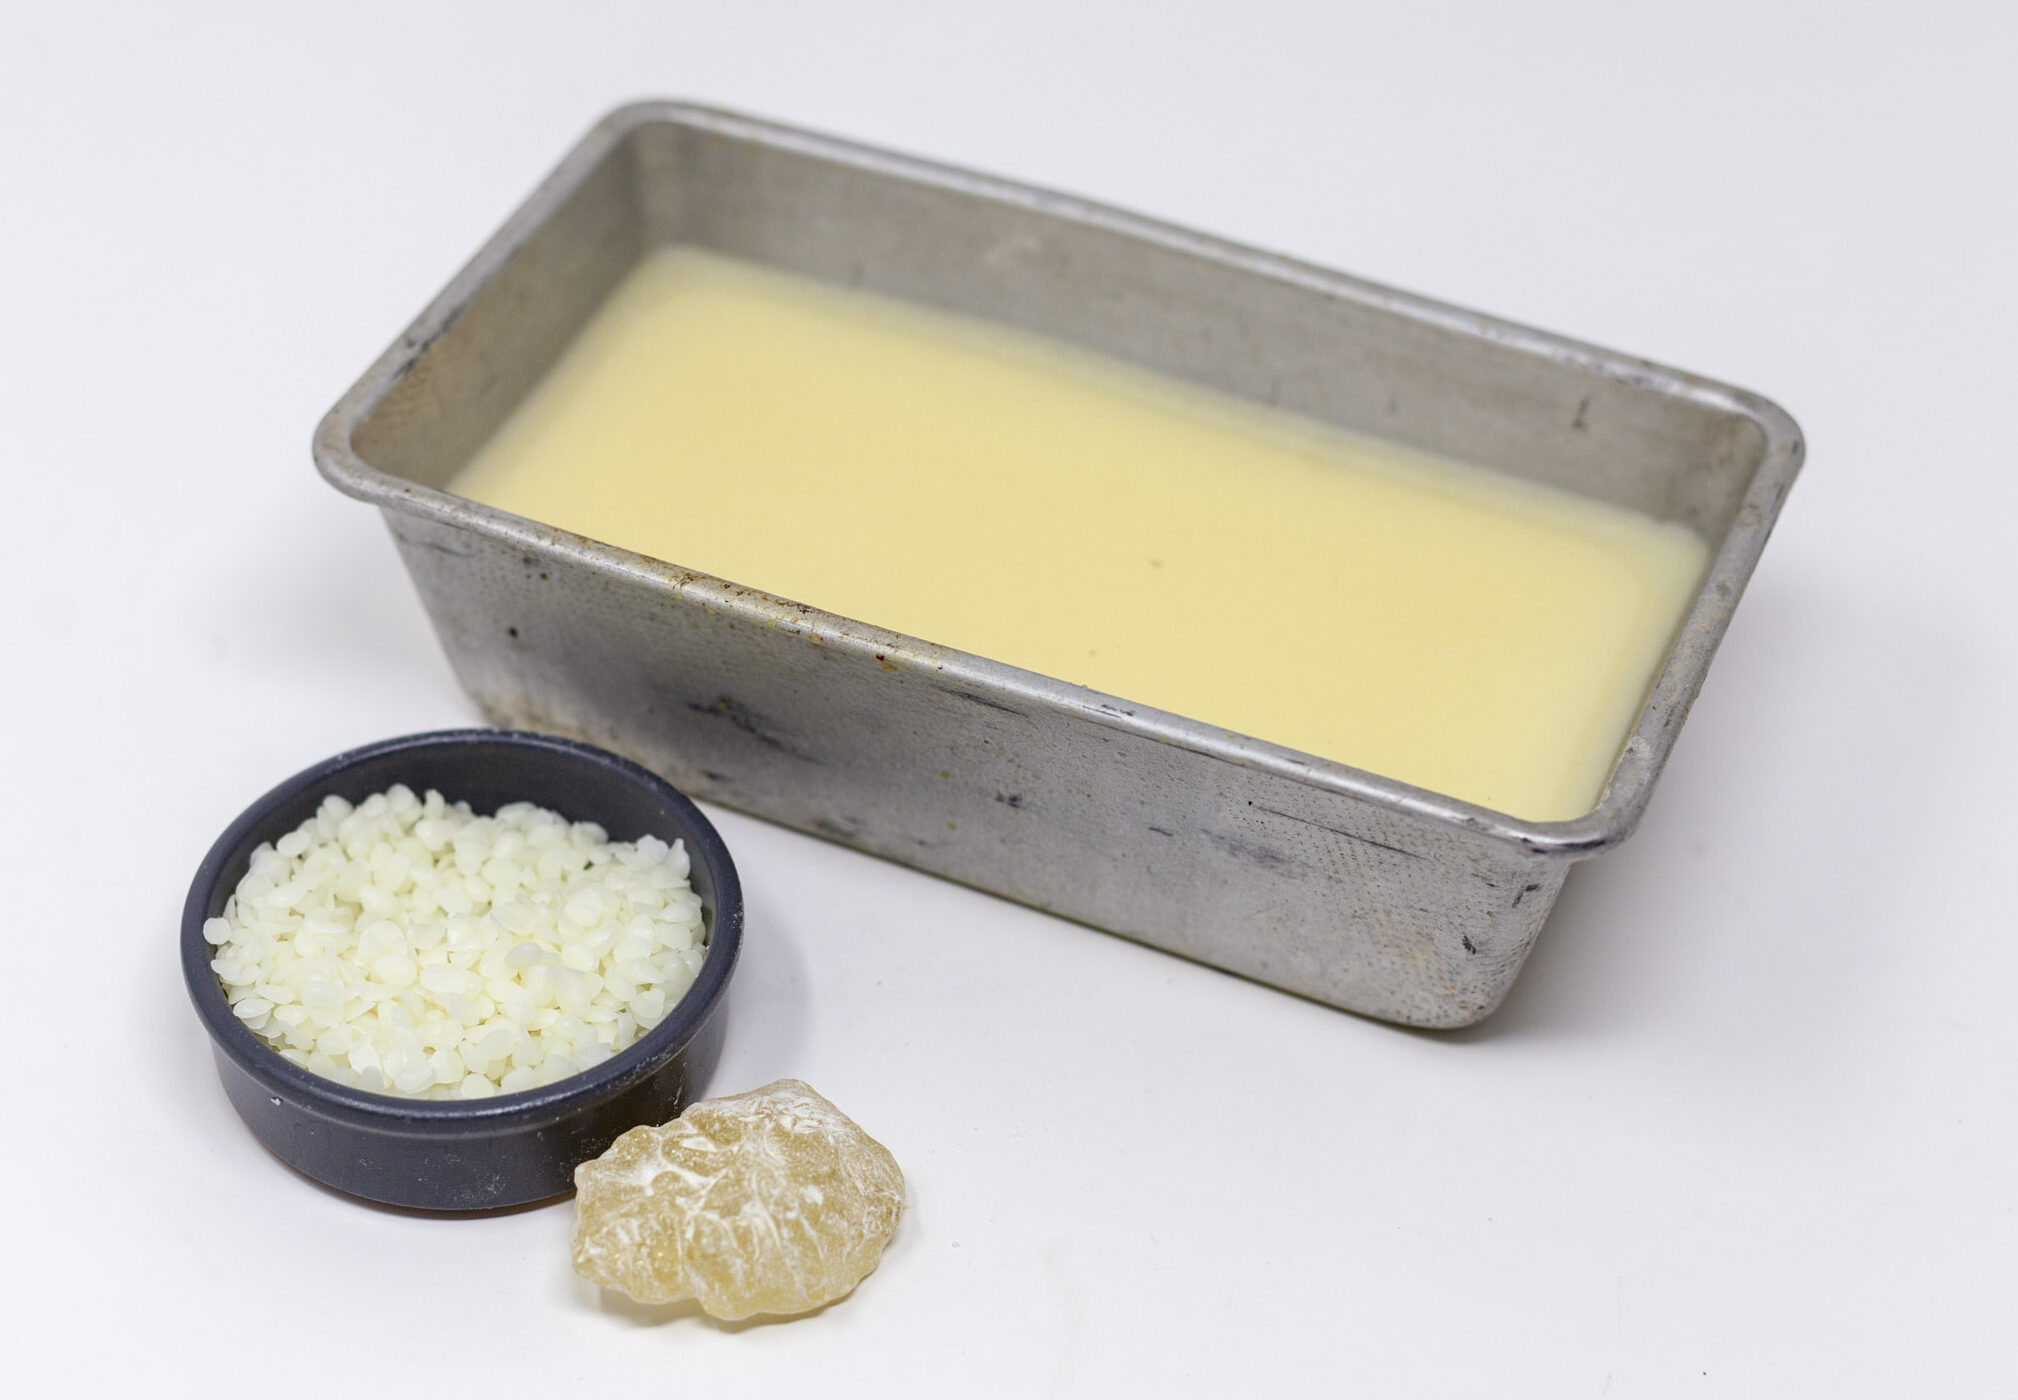
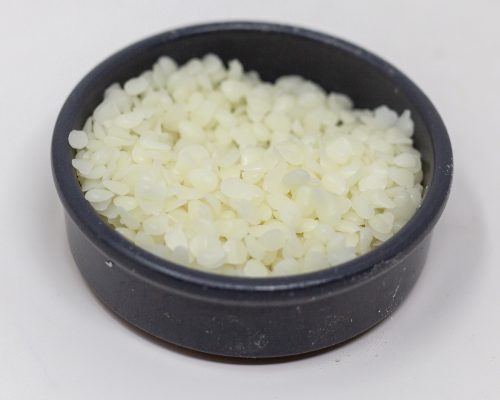
The word encaustic comes from the Greek enkaustikos, meaning “to burn in,” a phrase that captures both the process and the poetry of this medium. Greek artists learned that if they mixed pure beeswax with colored pigments, the molten blend could be brushed onto wood, marble, or terracotta — and then, by applying heat, “burned in” so that each layer fused to the one beneath it. The results were astonishing: color that seemed to glow from within, protected by a natural sheen of wax that resisted water and time.
They used this technique for painting portraits, decorating temples, and — famously — embellishing their ships. Imagine a fleet of triremes, their prows shining with vivid designs that caught the light of the Aegean sun, their surfaces protected by the very substance that gave the honeybee its wax. The marriage of art and function was complete: beauty and preservation in one.
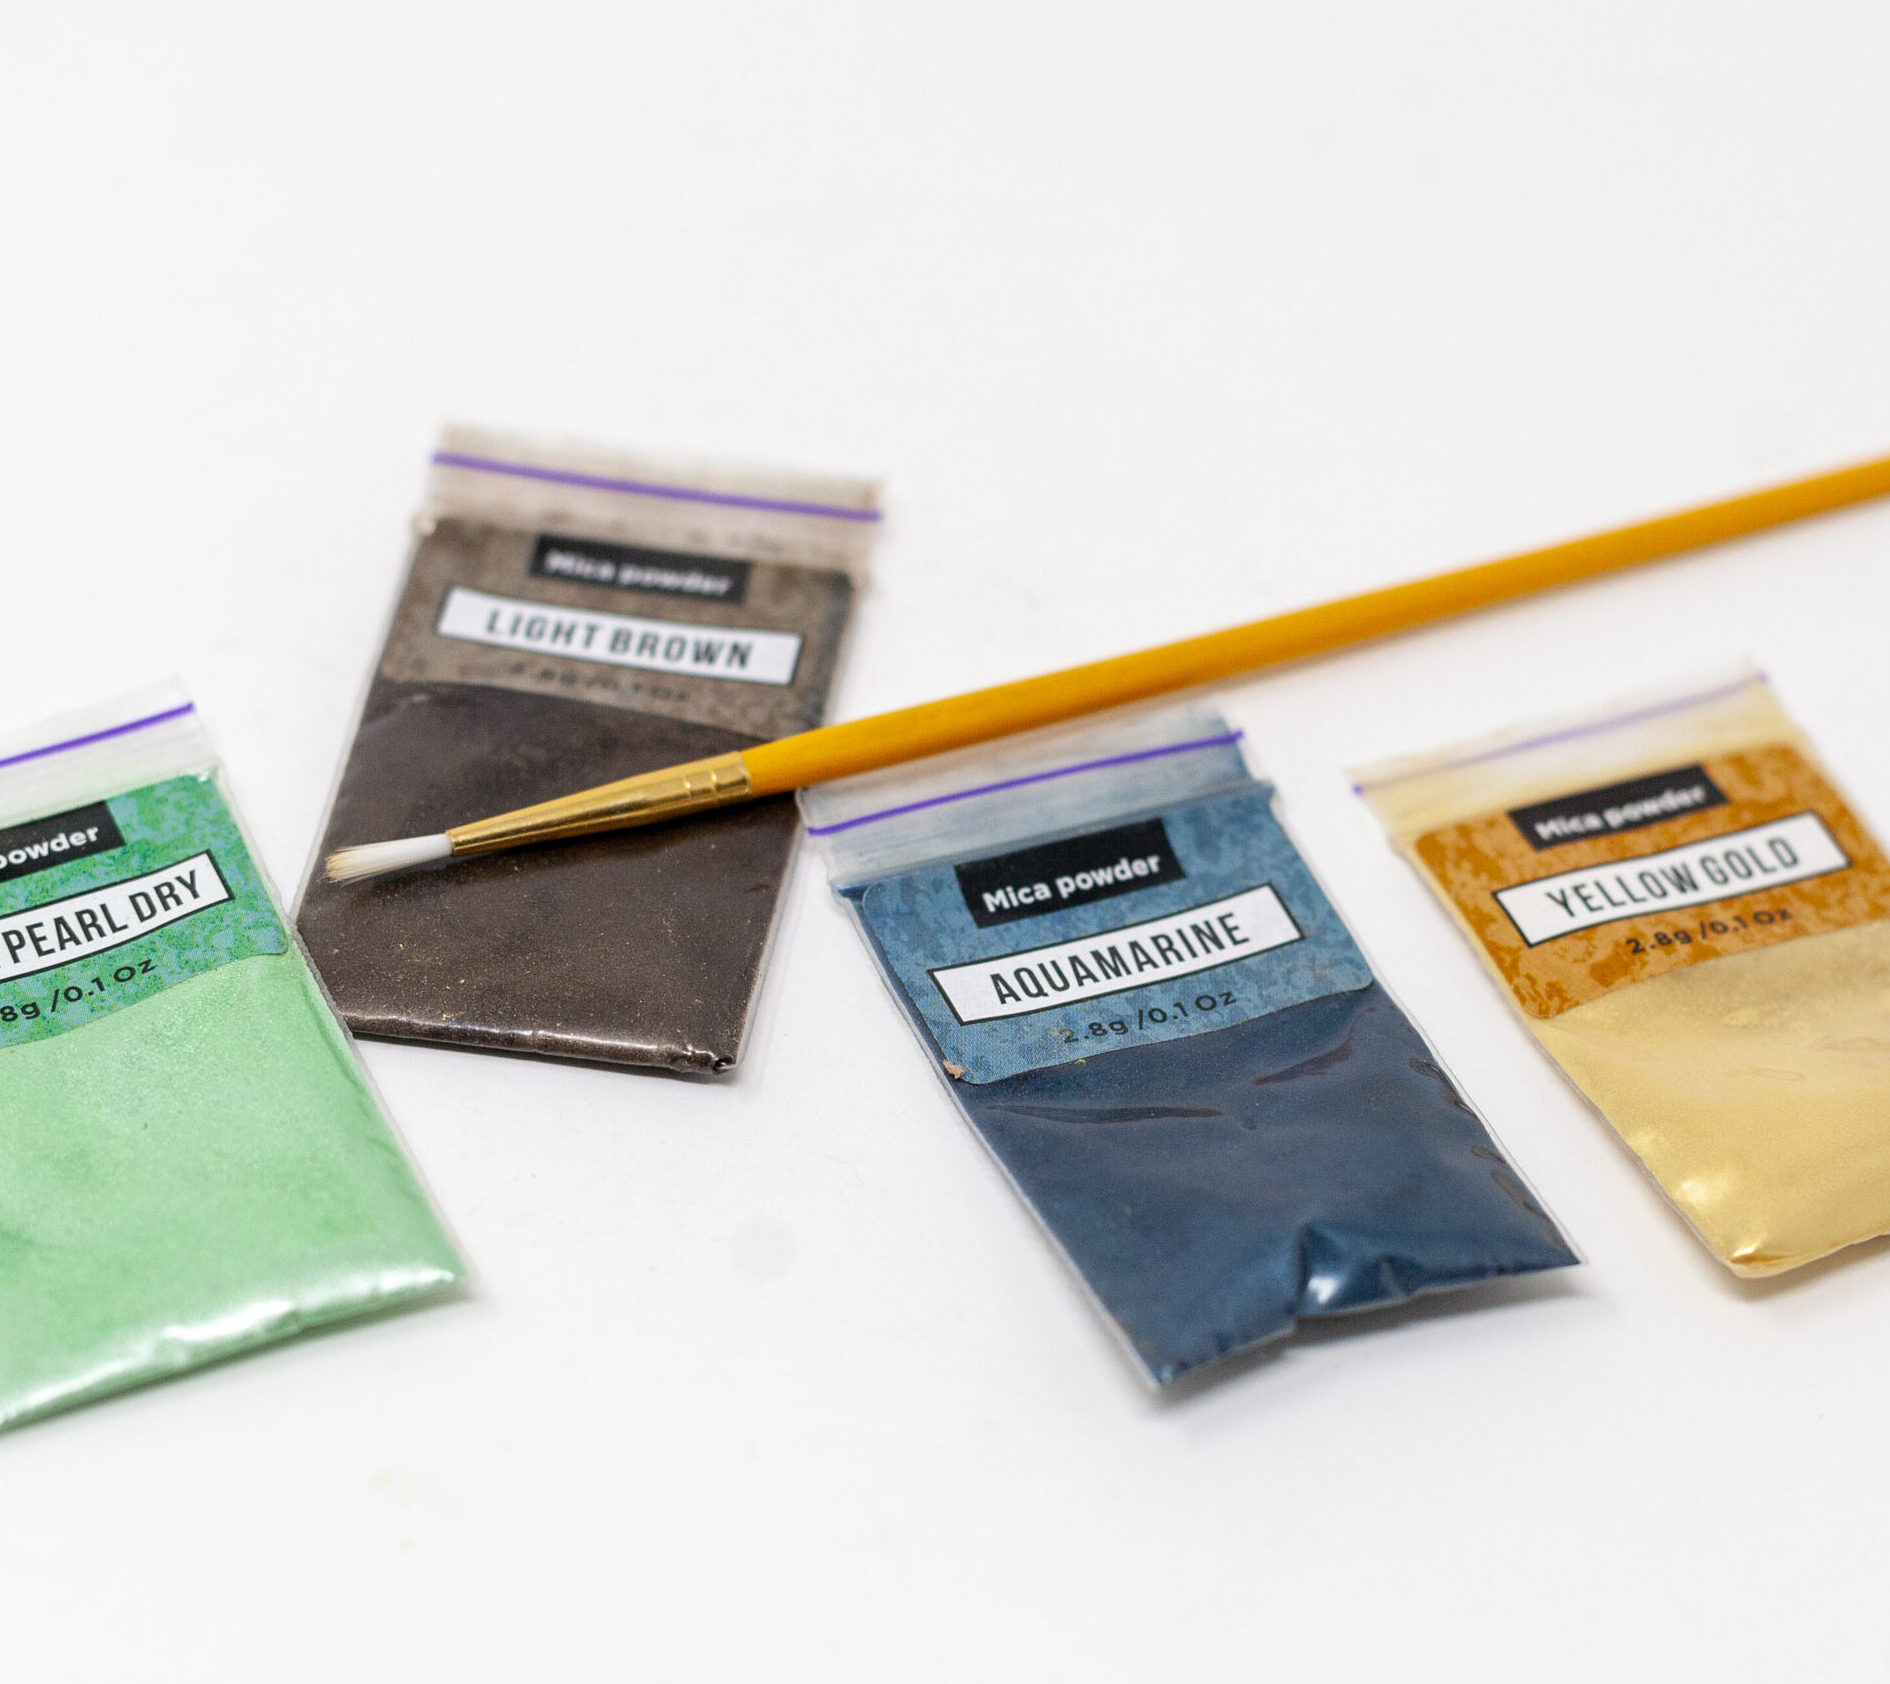
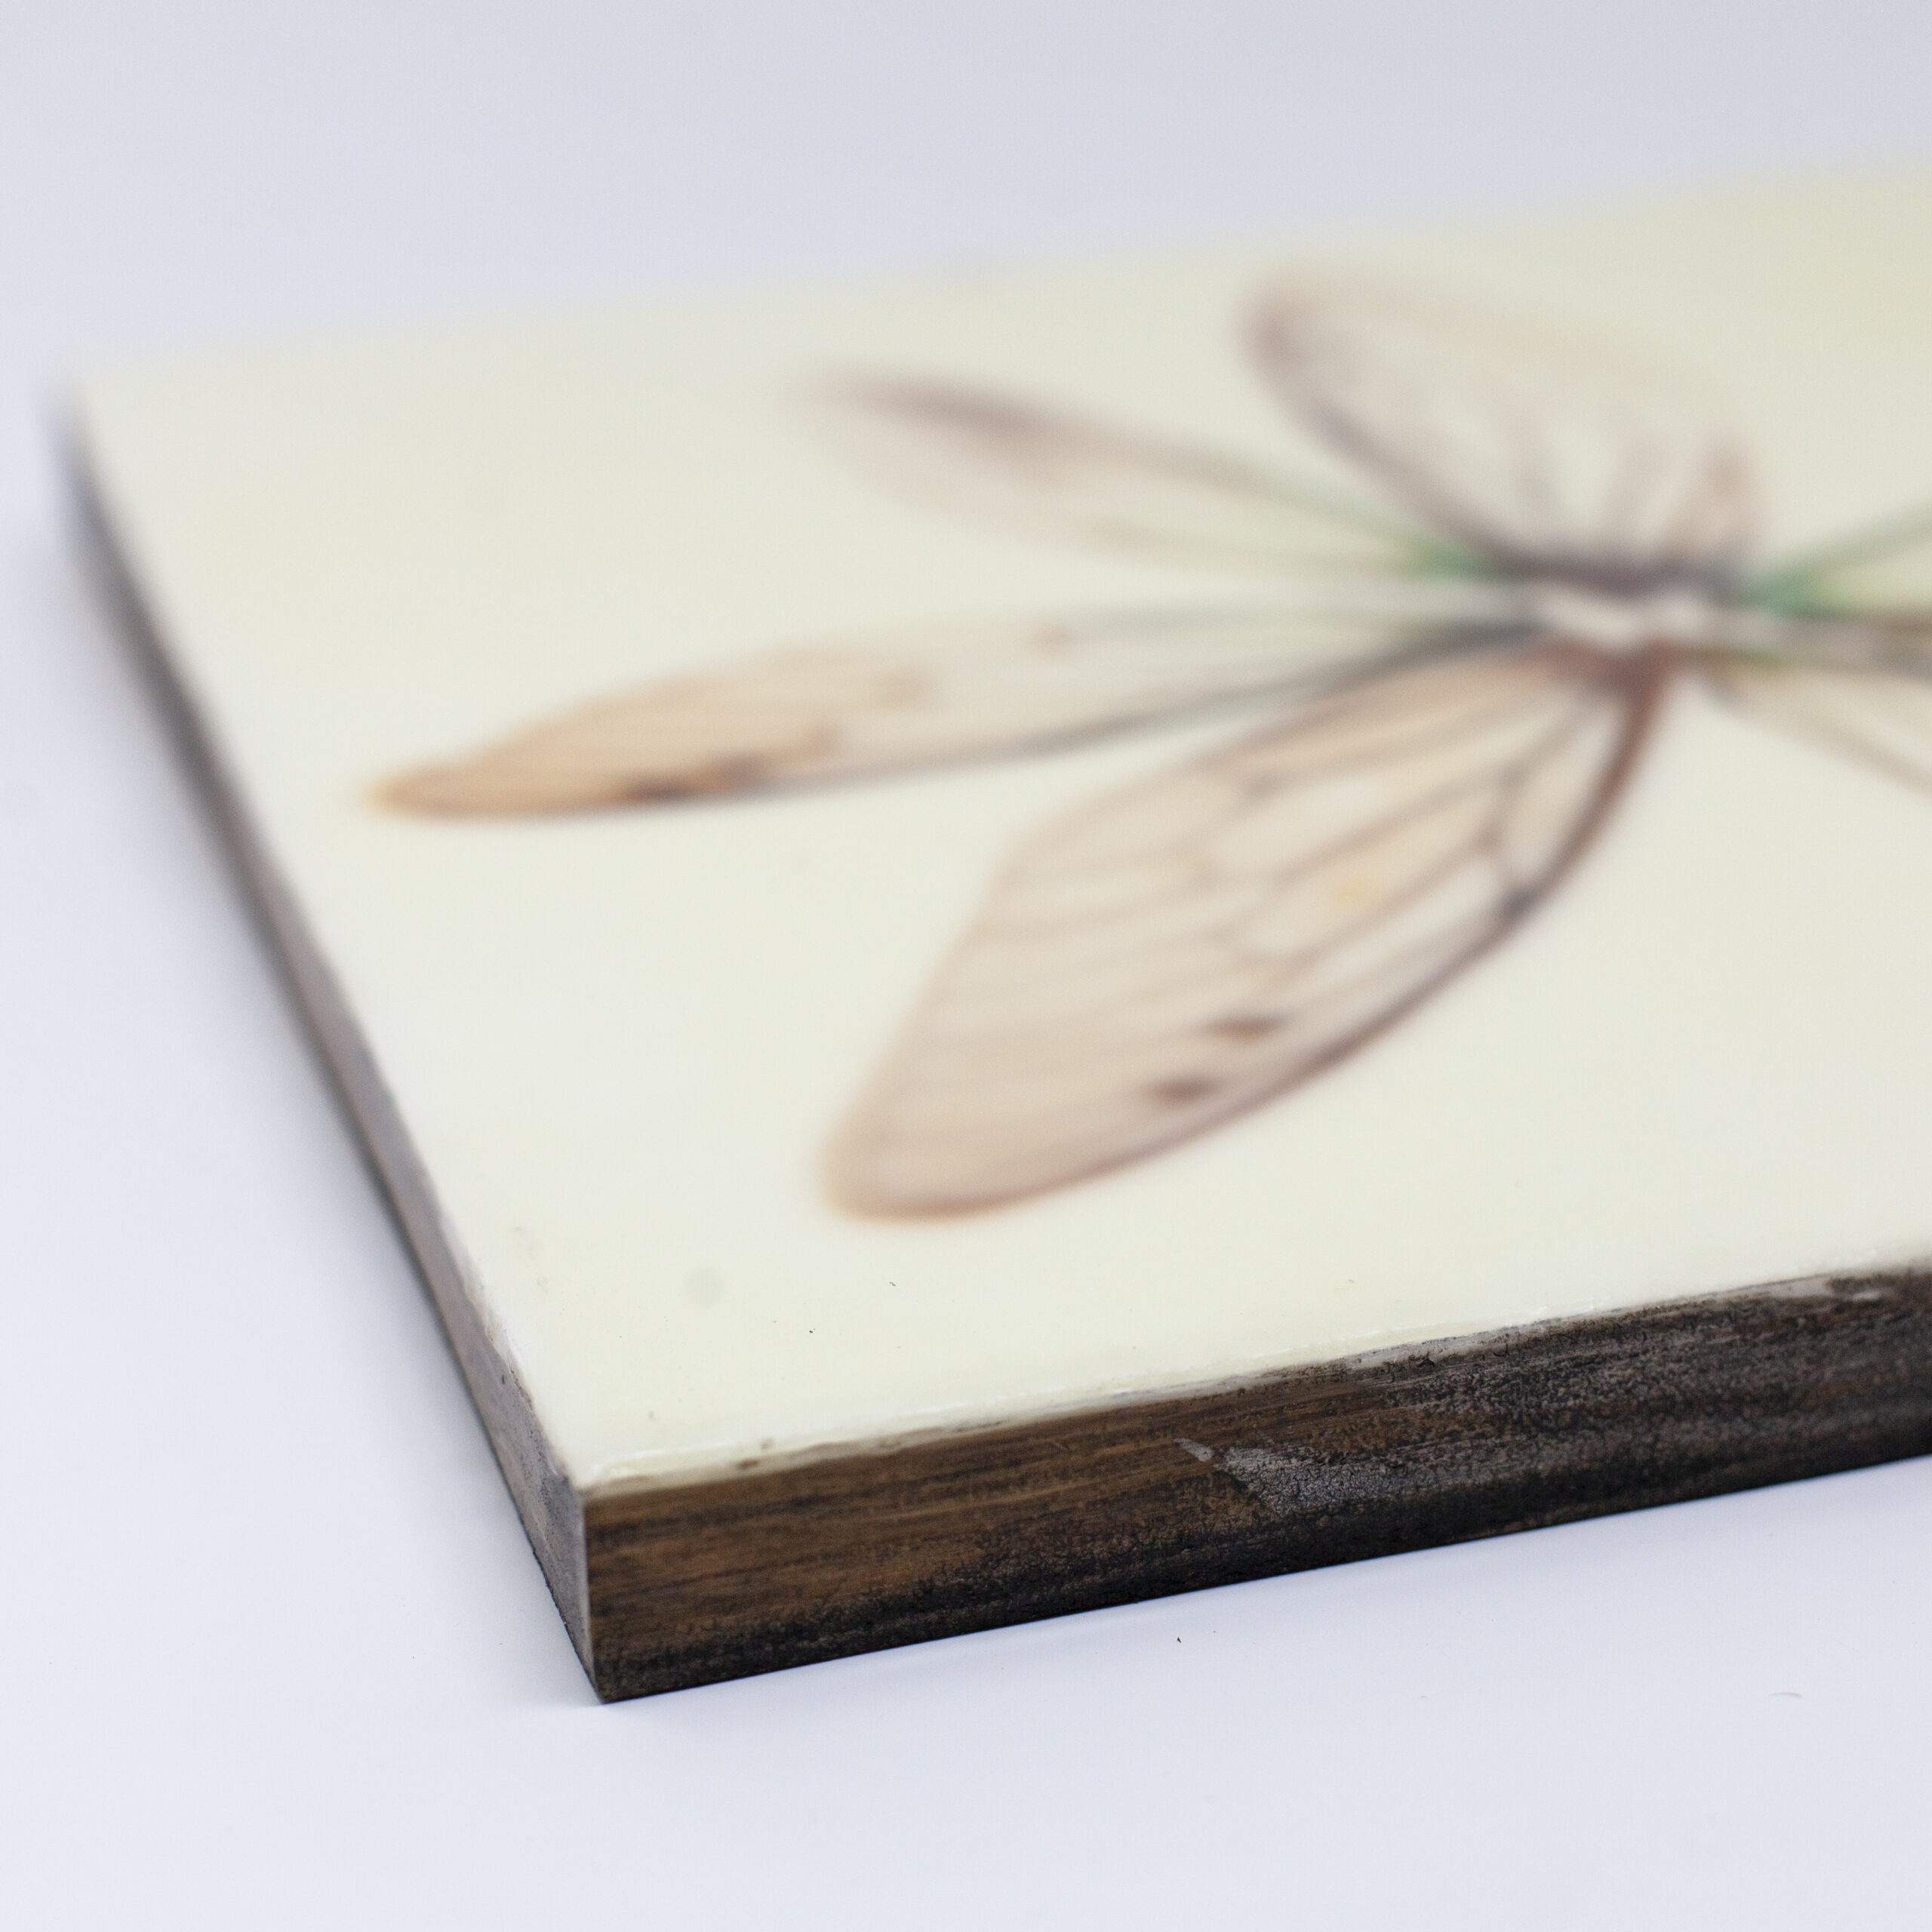
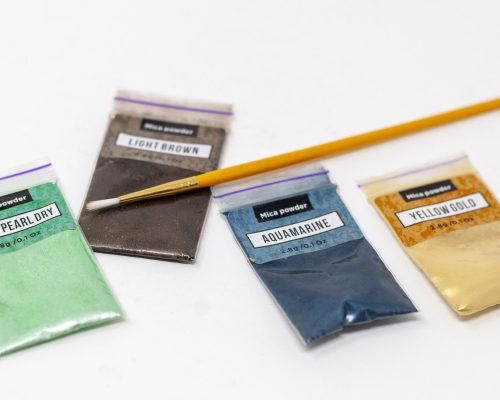
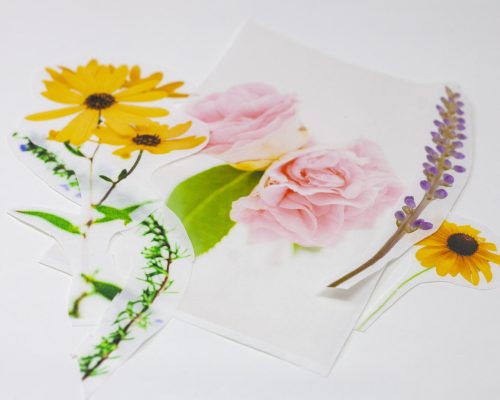
Today, encaustic painting continues to evolve. Contemporary artists use it to embed photographs, fibers, drawings, or natural materials like leaves and bark within translucent layers of wax. The process is slow and meditative, often described as a dance between control and surrender — between melting and cooling, hiding and revealing. Each layer captures a moment of transformation, sealed forever under the sheen of beeswax.
With practice, encaustic becomes a rhythm: melt, brush, fuse, layer, carve, polish. Each step connects you with a tradition stretching back two thousand years, yet leaves room for endless experimentation.
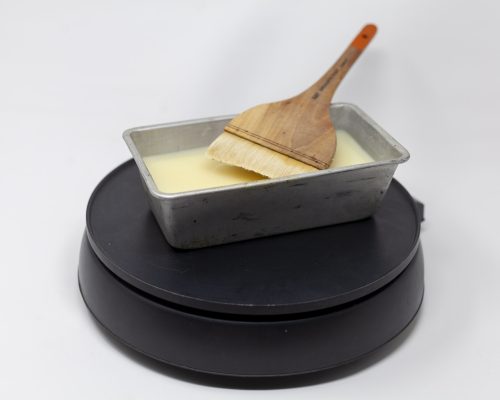
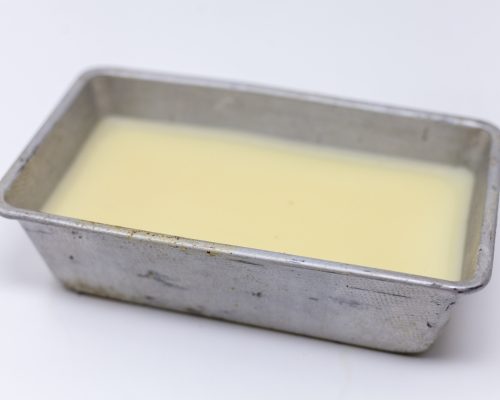
Ready to get started? Included on this page are tips for setting up your workspace, selecting the equipment needed, how to mix the wax medium, basic painting instructions and how to care for the finished work.